With over 150 million active users each month, Discord has become a go-to platform for building online communities, whether for gaming, education, or general communication. One of the core features that set Discord apart is the ability to create custom servers and enhance them with bots. In this guide, we’ll walk you through how to create a Discord server, customize it to fit your community’s needs, and introduce you to the best Discord bots to add for even more functionality.
How to Make a Discord Server
Before diving into bots and customization, you’ll need to set up a Discord server from scratch. Here’s a step-by-step guide.
Creating Your Discord Server
- Download and Install Discord – If you haven’t already, download the Discord app from discord.com or use the web version. The desktop app is available for Windows, macOS, and Linux, while the mobile app works for Android and iOS.
- Sign In or Create an Account – Open the app and log in to your existing Discord account or sign up for a new one. If you already have a Discord account, you can sign in on any device.
- Click the Plus (+) Button – On the left-hand side of the app, you’ll see a plus button under your current servers. Click the plus button to start creating your new server.
- Choose ‘Create a Server’ – After clicking the plus button, Discord will give you two options: “Create a Server” or “Join a Server.” Select Create a Server.
- Name Your Server and Choose a Region – You’ll need to give your server a name. You can also choose a server region based on your location to ensure optimal performance. For most users, Discord automatically selects the best region.
- Upload a Server Icon (Optional) – You can add a custom server icon if you want your community to have a visual identity. Recommended dimensions are 512×512 pixels.
- Click ‘Create’ – Once you’ve filled out the necessary details, click “Create.” Congratulations! You’ve now created your Discord server.
Customizing Your Discord Server
Once your server is created, it’s time to personalize it according to your community’s needs.
Setting Up Channels and Categories
- Create Text and Voice Channels – On the left side of the server screen, you’ll see two types of channels: text and voice. Text channels are for messaging, while voice channels are for real-time conversations. To add a new channel, click the plus sign next to Text Channels or Voice Channels.
- Use Categories for Better Organization – If your server will have multiple channels, you can organize them into categories (e.g., “General,” “Gaming,” “Announcements”). To create a category, right-click on the left panel and select Create Category.
- Setting Permissions for Channels – You can customize permissions for different channels. For example, only administrators can post in an “Announcements” channel, while members can chat freely in “General.” To edit permissions, right-click a channel, go to Edit Channel, and click on Permissions.
Customizing Server Roles
- Create Roles for Members – Roles in Discord allow you to grant different permissions to different members. For example, you can create roles like Admin, Moderator, or Member. To create a role, go to Server Settings > Roles, and click Create Role.
- Assign Roles to Users – You can manually assign roles by clicking on a user’s name, selecting Roles, and checking the boxes of the roles you want them to have. You can also automate role assignments using bots (more on that later).
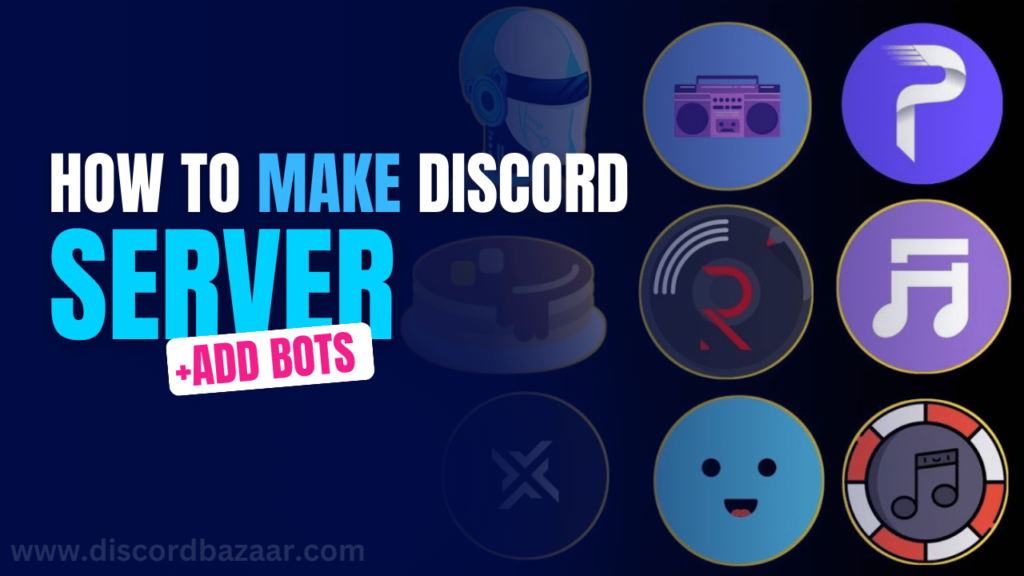
How to Add and Configure Discord Bots
Bots are essential for automating tasks and enhancing your server’s functionality. Here’s how to add bots to your server and some of the best bots available today.
How to Add a Discord Bot
- Find a Bot – There are many websites where you can discover bots, including top.gg and Discord Bots. Popular bots often have their own websites.
- Invite the Bot to Your Server – Once you find a bot you want to add, click on its page, and look for an Invite or Add to Discord button. Clicking this will take you to the Discord authorization page.
- Choose the Server – You will be prompted to choose the server where you want the bot to be added. Select the appropriate server from the dropdown list.
- Grant Permissions – Discord will ask for permission to allow the bot to perform tasks such as reading messages, kicking users, or posting in channels. Make sure to review these permissions before clicking Authorize.
- Set Up the Bot – Each bot has its own configuration process. Some bots work right out of the box, while others require custom setup through commands. Check the documentation of the bot for specific details.
Top 5 Discord Bots to Enhance Your Server
Now that you know how to add bots, let’s talk about the best ones to get started with.
MEE6 – Moderation and Automation
MEE6 bot is one of the best Discord moderation bots for automating tasks on your server. From auto-moderation to MEE6 custom commands, it can handle a wide variety of tasks that improve your server’s functionality. It also features a leveling system, where users gain XP for participation.
Dyno – Advanced Moderation
Dyno bot is another excellent bot for Discord auto-moderation. It has features like automod, which automatically kicks or bans users who violate your server rules. It also supports custom commands and role management.
Groovy – Music Streaming Bot
Groovy lets users stream music from services like Spotify and YouTube, making it perfect for gaming or hangout servers. It also supports a wide range of music-related commands for controlling playback, adding songs to the queue, and more.
Carl-bot – Role Management and Customization
Carl-bot is great for managing server roles through reaction roles and for logging events like user bans and kicks. It also supports advanced server automation, making it a highly customizable option.
Dank Memer – Fun and Entertainment
For those who want to add a fun twist to their server, Dank Memer allows users to generate memes, play games, and earn in-game currency. It’s a lighthearted bot that’s perfect for boosting engagement.
Conclusion: Create, Customize, and Enhance with Bots
Creating a Discord server is just the beginning of your community-building journey. Proper customization, from setting up roles to adding the right bots, can transform a basic server into a fully functional, engaging space for your community. Whether you’re setting up a small server for friends or building a large online community, the combination of powerful Discord bots and custom server settings can provide the ultimate user experience.
By following these steps and adding the recommended bots, you’ll ensure your server is not only well-organized but also tailored to your members’ needs, keeping them engaged and active.
Leave a Reply